This blog is the third in a series of six, following the process of building a two storey granny flat.
 This blog is the third in a series of six, following the process of building a two storey granny flat. You can read the first and second blogs to catch up on the initial stages we discussed.
The next stage is a milestone for our clients, where we form and pour the slab and stand the treated pine timber frame.
For this project, laneway levels were higher than the backyard, so in consultation with our client we built up the floor level approximately 500mm, using a concrete drop edge beam slab and fill to raise it above the laneway.
After erecting the form boards, we installed the waffle pods (refer to the photo below). It allows more accurate specification of concrete quantities, reduces waste, and ensures efficiency. This was followed by fixing of reinforcing the steel to control cracking and increase the strength of the slab.

Prior to pouring concrete, the certifier inspected the slab. After this approval, we poured the concrete.
Once the slab was completed, the next phase was to install the termite protection barrier. The ground floor treated pine frame followed next, as well as the floor system for the second floor.
We then erected the scaffold and finally, stood the frames and trusses on the second floor.
During the framing stage we took drone footage of our site team putting up the frames and trusses. Check the video out below!
In the next blog we talk about the granny flat lock-up phase! If you would like to know more about granny flats call us on 4947 2800 or click here to fill in an online enquiry form.
- Building a two storey granny flat: the process from start to finish
- Building a two storey granny flat: site preparation
- Building a two storey granny flat: constructing the slab and frame
- Building a two storey granny flat: lock up phase
- Building a two storey granny flat: internal linings and fit off
- Building a two storey granny flat: complete/final inspection
Related resources
The Rise of the Backyard Rental in NSW: Are Granny Flats Still Worth the Investment This Year?
Discover why granny flats remain one of NSW’s strongest investments. Explore Newcastle rental yields, vacancy rates, and the benefits of building a granny flat investment with Backyard Grannys.
Read more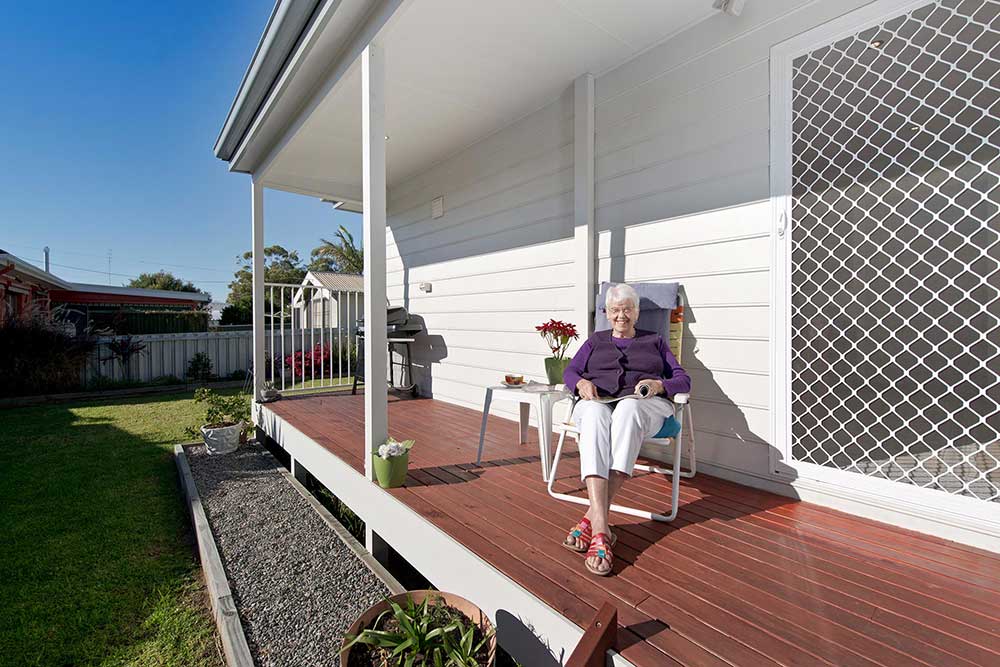
Keeping family close: building a granny flat for ageing parents
Discover how building a granny flat for ageing parents can keep family close, provide independence, and add value to your property. Learn more with Backyard Grannys.
Read more-21.jpg)
Backyard Grannys named finalist in three categories at the 2025 HIA Hunter Region Awards
Backyard Grannys’ Kilaben Bay project has been named a finalist in three categories at the 2025 HIA Hunter Region Awards, recognising innovation, affordability and design excellence in this bespoke luxury bushland granny flat.
Read more
How to earn rental income from a granny flat in NSW
If you’re thinking about renting out your granny flat in NSW, here’s a clear, step-by-step guide to help you get started.
Read more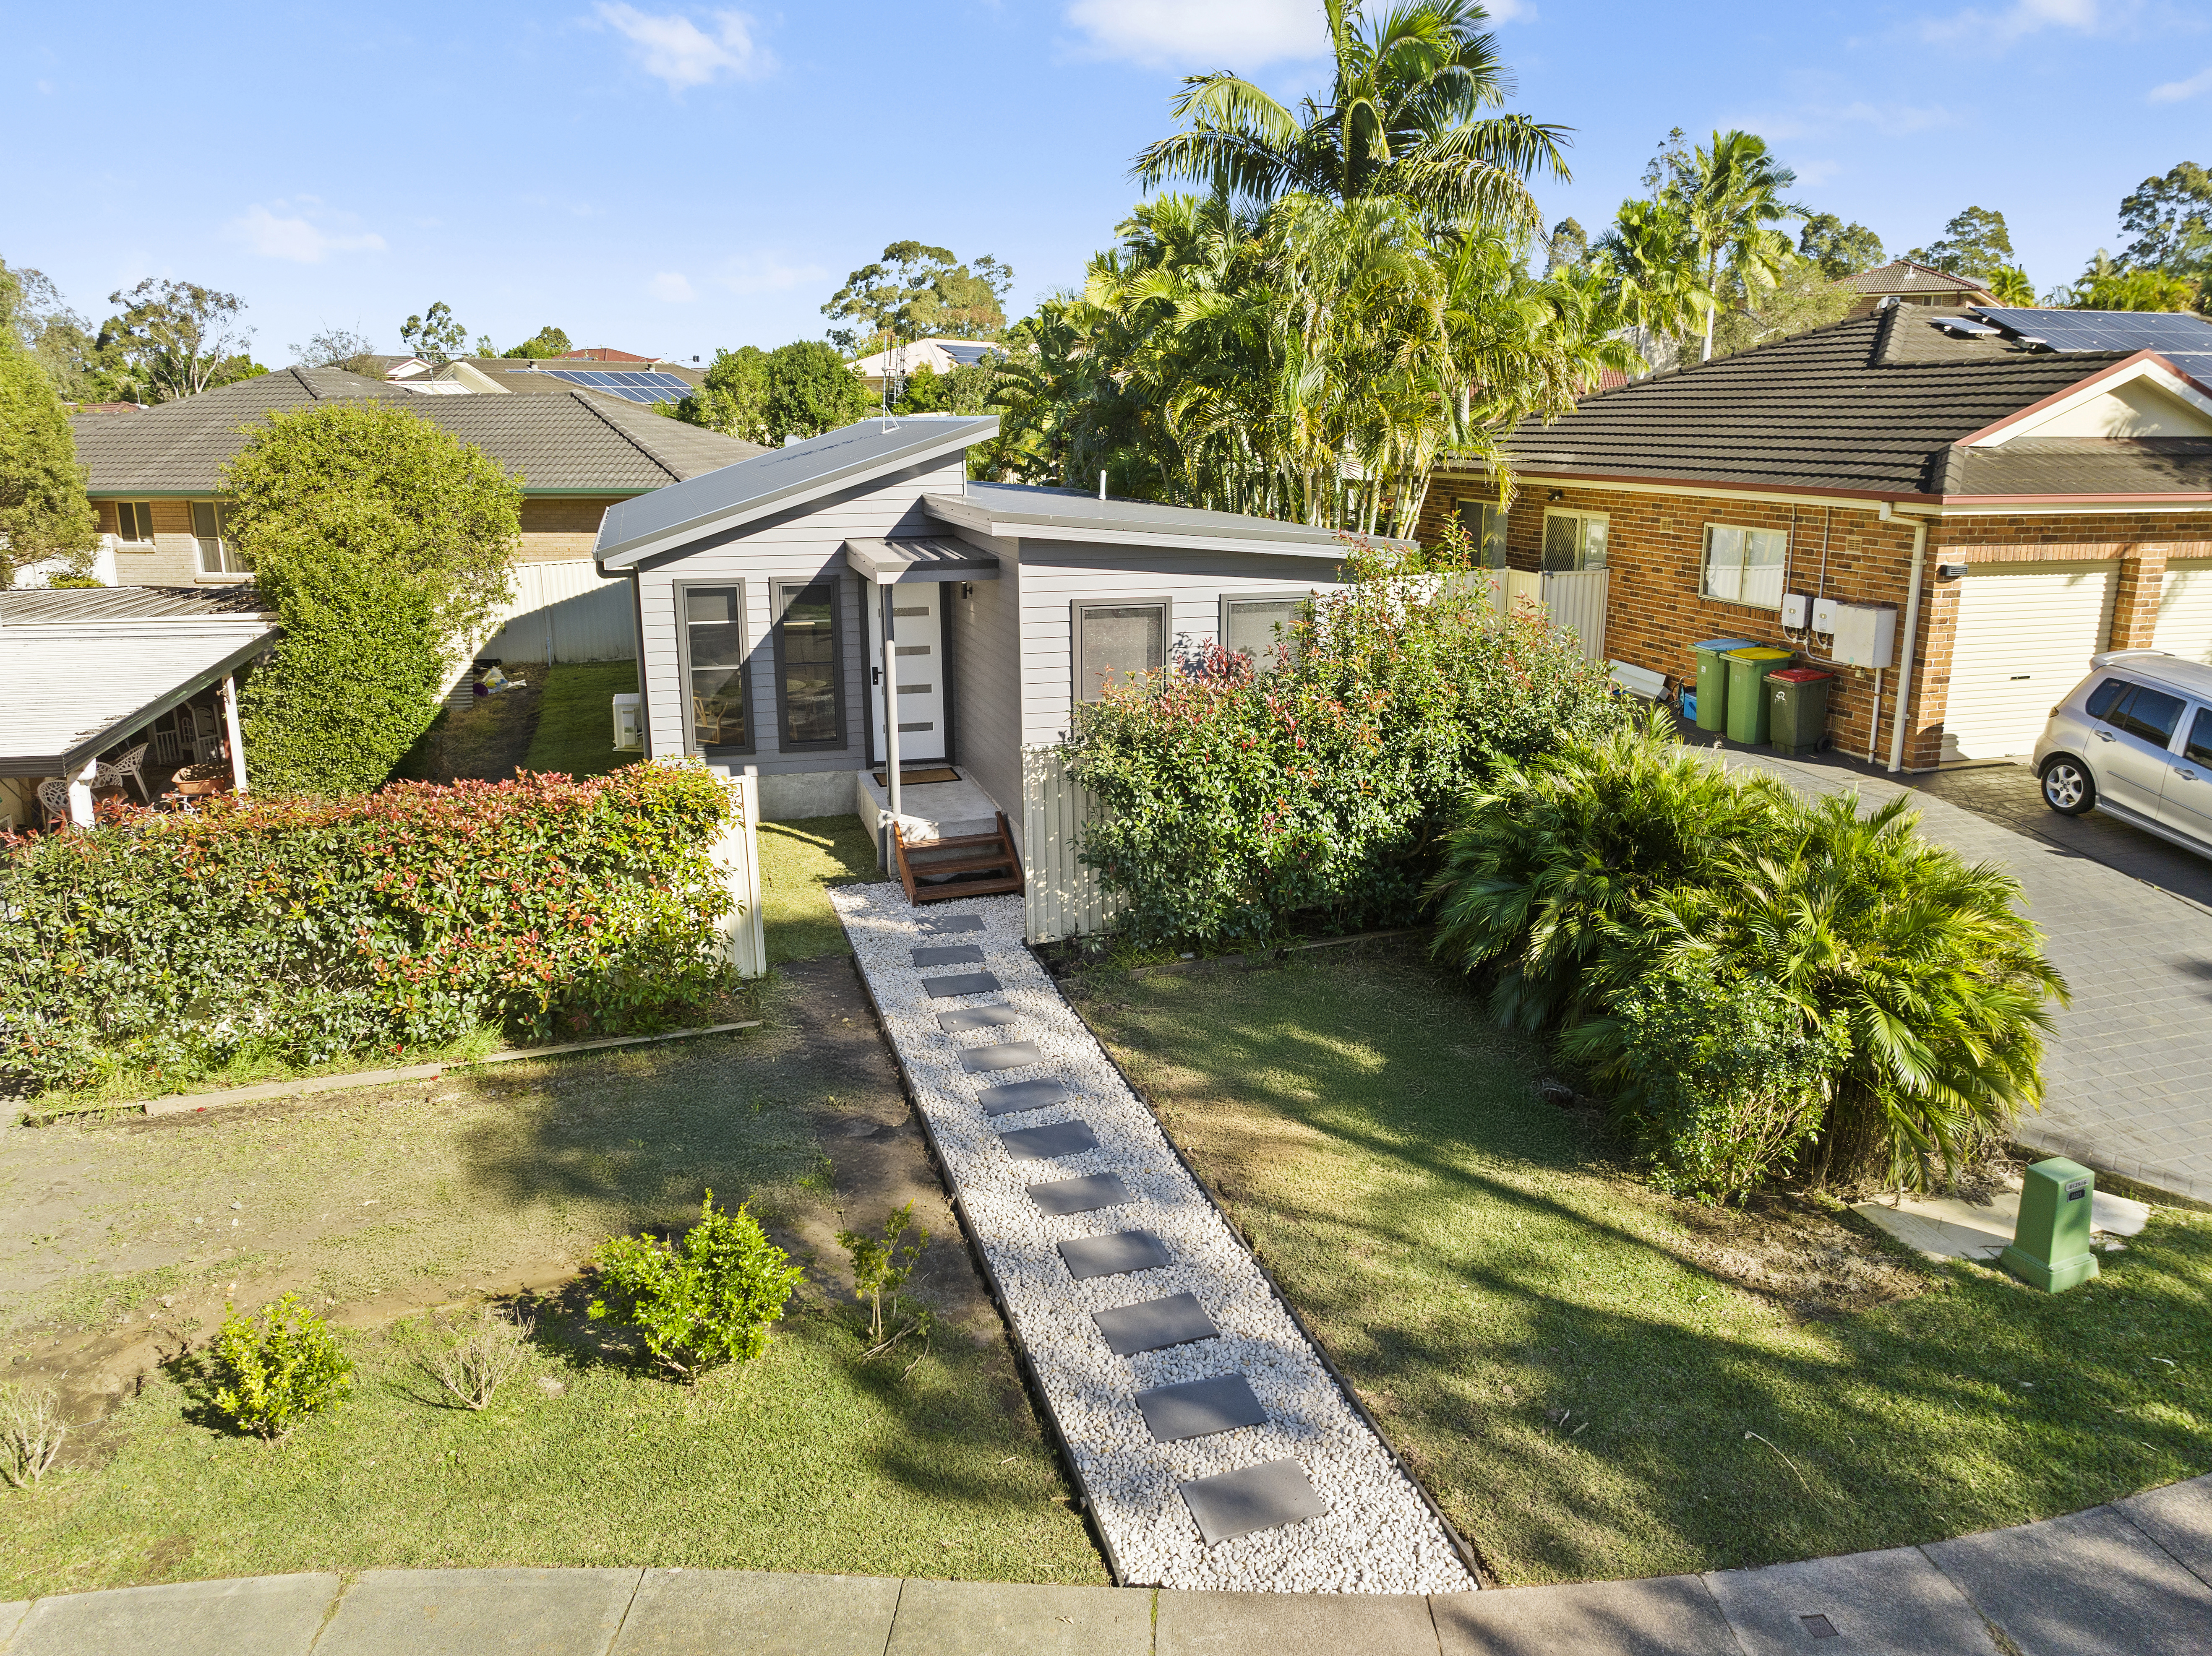
Top 10 mistakes to avoid when planning your granny flat
Planning a granny flat? Avoid costly mistakes with our guide to the top 10 things to consider before you build. Expert tips for design, approvals, and building in NSW.
Read more