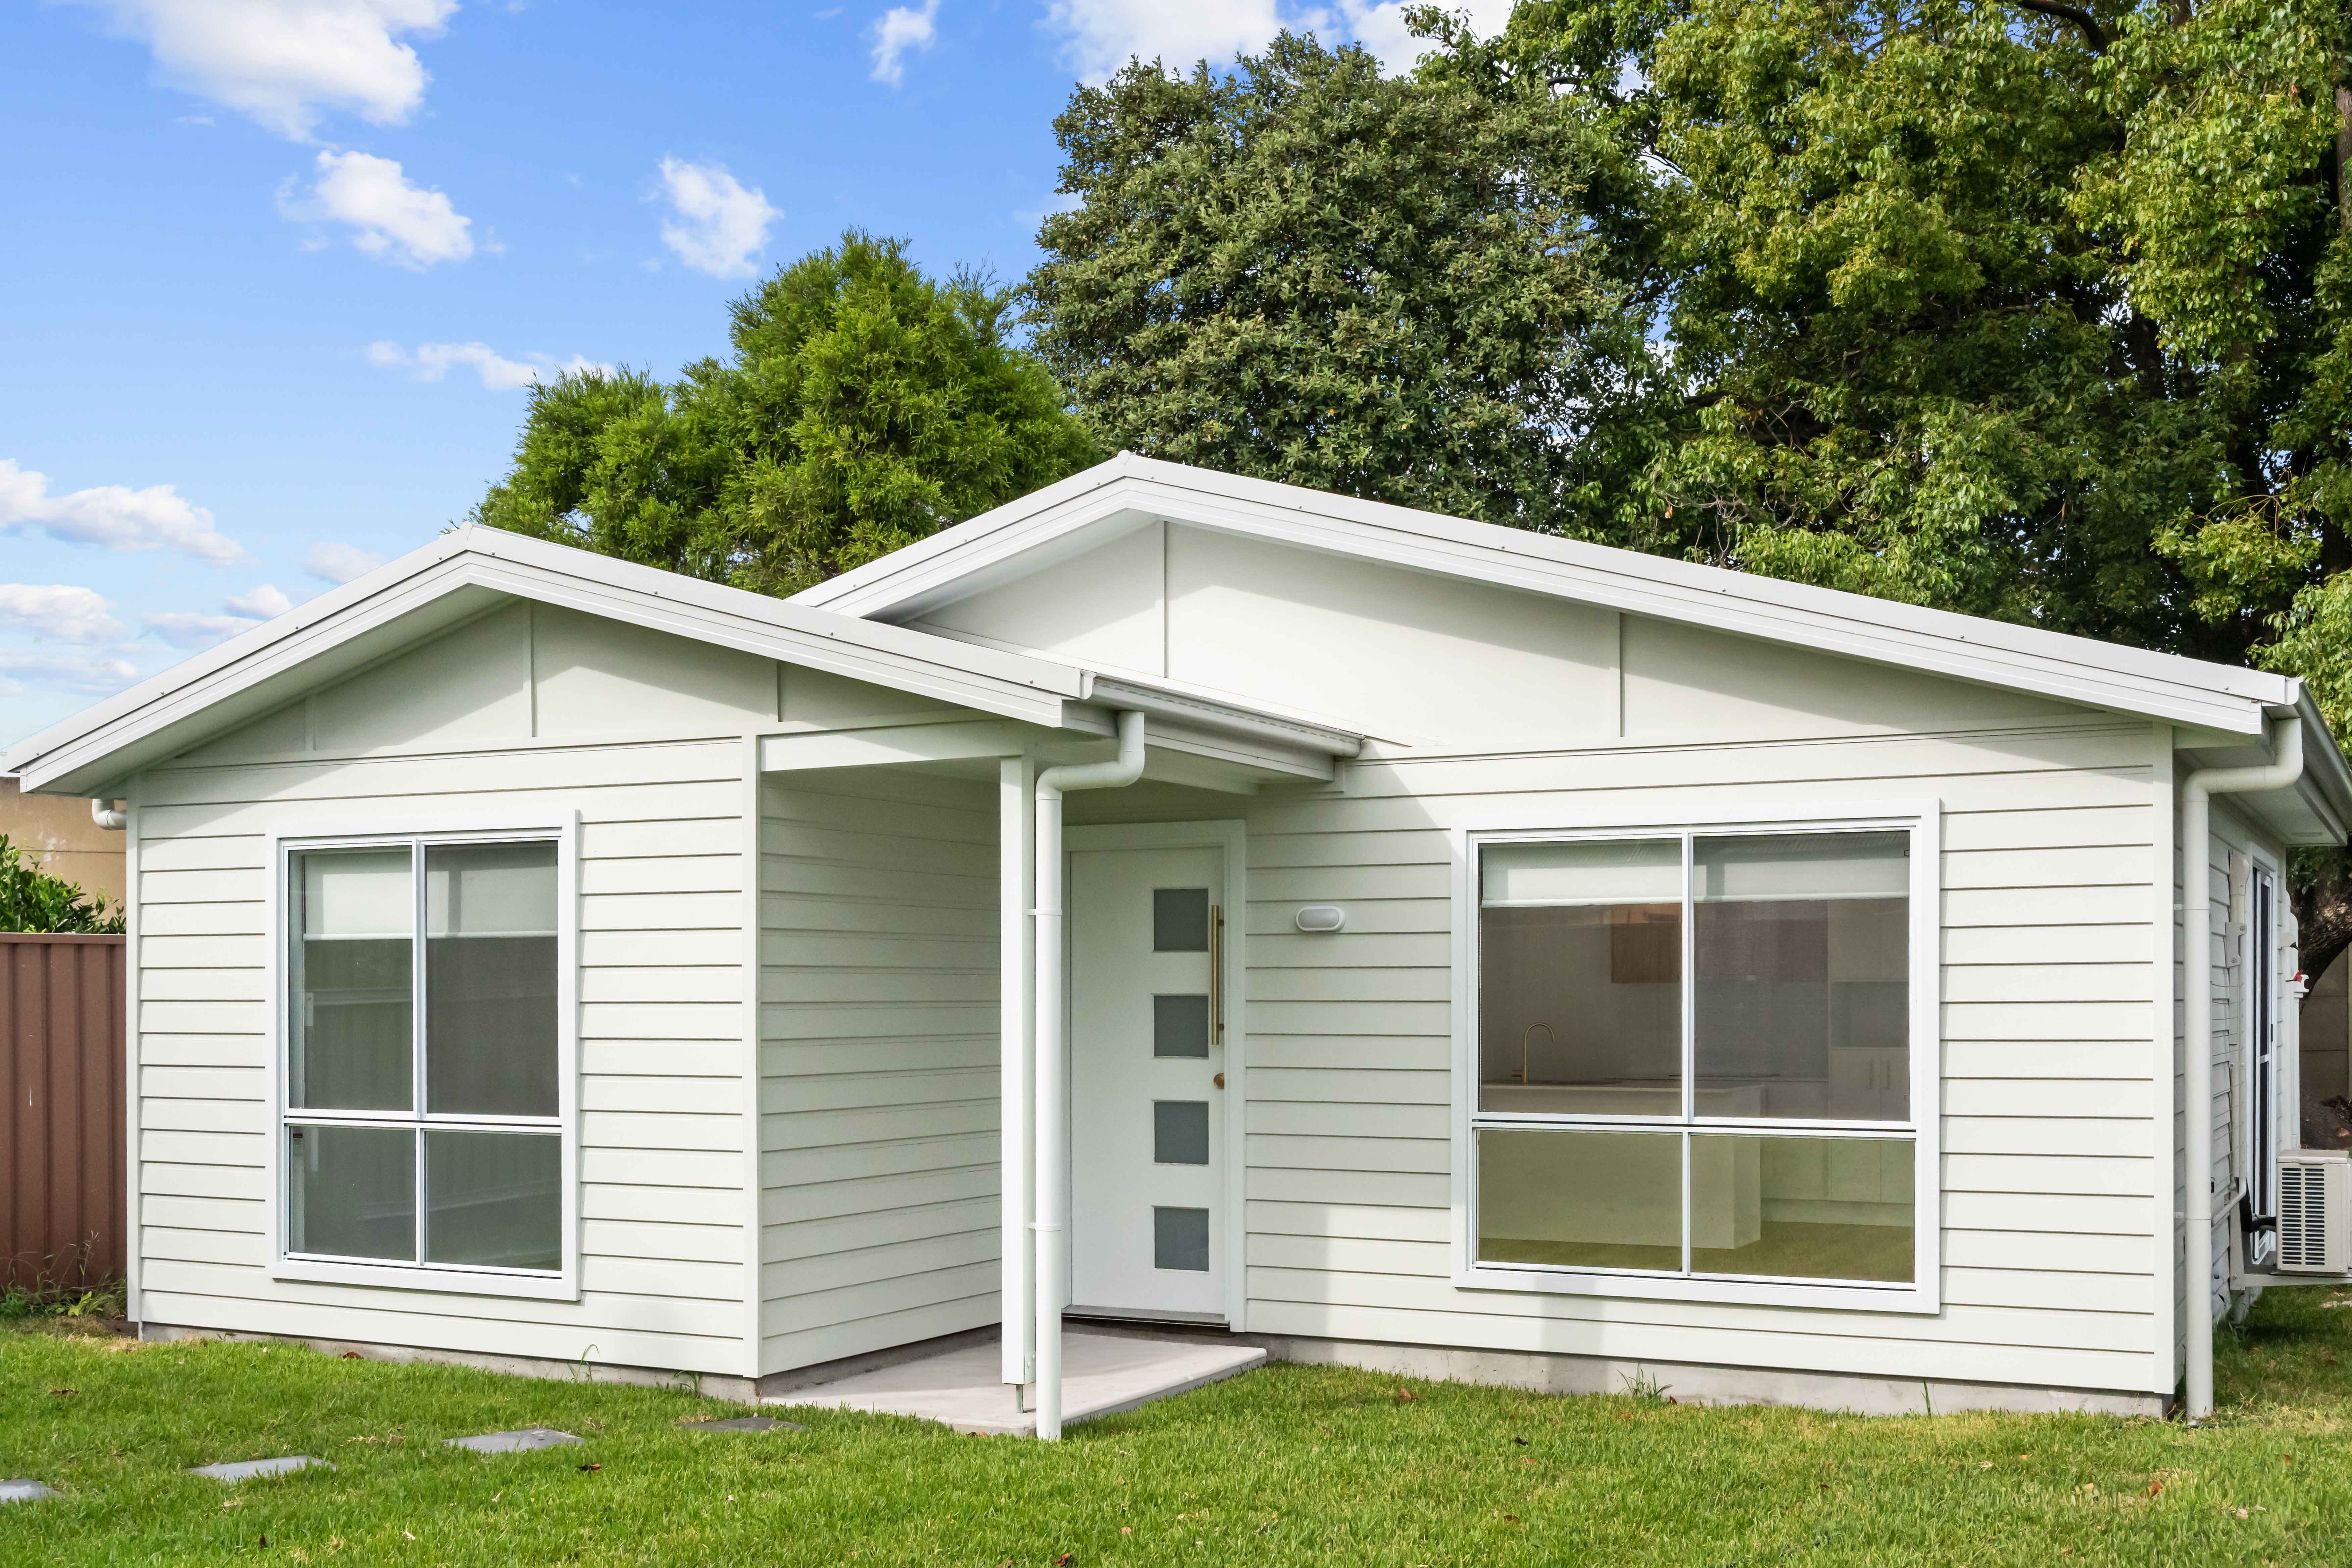
In the past few weeks we have been explaining the Backyard Grannys construction process, using a recently completed granny flat as an example. This blog is the 5th in a series of 6 blogs with us previously achieving the two storey granny flat lock up stage. This blog focuses on finalising the internal elements.
In the past few weeks we have been explaining the Backyard Grannys construction process, using a recently completed granny flat as an example. This blog is the 5th in a series of 6 blogs with us previously achieving the two storey granny flat lock up stage.
This blog focuses on finalising the internal elements, starting with roughing in the electrical and plumbing services to the walls followed by the insulation of the walls and ceiling. Once that was finished we were able to install gyprock throughout the house and garage, as well as getting the roller doors installed for the garage.


We then moved on to the bathrooms. The first step in the bathroom is the waterproof the floor and shower walls which is a two day process. The tiler is the next to begin his work, starting with the cement bed on the floor to create falls to the two drains in the bathroom. The wall and floor tiles were then laid and grouted.
The kitchen was also measured at the completion of plasterboard linings. After waiting for the typical lead time of 2-3 weeks, the kitchen was installed. With this project, the client had selected a stone benchtop. Stone tops need to be site measured and in this case the benchtop was installed 10 business days after its measure.

During the period which the bathroom and kitchen are being completed the carpenters complete the mould out which includes doing the architraves and skirting. They also installed door jambs and hang all doors. Once the mould out, bathroom tiling and kitchen were completed the painter was the next trade in, using Haymes quality paint.
Next, we took on the plumbing and electrical fit off job including installation of light fittings, power points and wiring of fans, ovens, cooktops, shower heads and other appliances.
In terms of the floor covering, we used carpet for bedrooms and vinyl plank flooring for the living room, dining area, and kitchen.
Lastly, we carried out the final touches – installing shower screen toilet roll holders, towel rails, kitchen splash back, paint touch ups, door handles, etc.


Once the interior fit outs were effectively completed, a pre-handover inspection with our client will be performed, which we will discuss in the final blog post. But if you would like to have a chat about a granny flat project on your land, call 4947 2800 or click here to submit an online enquiry form.
If you are interested in reading the other blogs in this series, follow the links below:
- Building a two storey granny flat: the process from start to finish
- Building a two storey granny flat: site preparation
- Building a two storey granny flat: constructing the slab and frame
- Building a two storey granny flat: lock up phase
- Building a two storey granny flat: internal linings and fit off
- Building a two storey granny flat: complete/final inspection
Related resources
The Rise of the Backyard Rental in NSW: Are Granny Flats Still Worth the Investment This Year?
Discover why granny flats remain one of NSW’s strongest investments. Explore Newcastle rental yields, vacancy rates, and the benefits of building a granny flat investment with Backyard Grannys.
Read more
Keeping family close: building a granny flat for ageing parents
Discover how building a granny flat for ageing parents can keep family close, provide independence, and add value to your property. Learn more with Backyard Grannys.
Read more-21.jpg)
Backyard Grannys named finalist in three categories at the 2025 HIA Hunter Region Awards
Backyard Grannys’ Kilaben Bay project has been named a finalist in three categories at the 2025 HIA Hunter Region Awards, recognising innovation, affordability and design excellence in this bespoke luxury bushland granny flat.
Read more
How to earn rental income from a granny flat in NSW
If you’re thinking about renting out your granny flat in NSW, here’s a clear, step-by-step guide to help you get started.
Read more
Top 10 mistakes to avoid when planning your granny flat
Planning a granny flat? Avoid costly mistakes with our guide to the top 10 things to consider before you build. Expert tips for design, approvals, and building in NSW.
Read more